

.svg)


For many remote workers, the dream life is digital nomadism. The perks of remote work already exist, which means the ability to work in Nigeria today and work from a coffee shop in either France or Canada the next. But before you pack your laptop and hit the road, especially for people who are from countries with weaker passports, there’s always one major hurdle — the visa application process.
Navigating visa requirements can be tricky; some countries require a lot from you, and applications often come with a lot of uncertainty, given ever-changing immigration rules. Each country has its own unique rules, paperwork, and costs, so thorough preparation is essential.
In this guide, we cover everything you need to know about applying for a visa as a remote worker, from necessary documentation to money-saving tips and tools, so you can avoid costly mistakes and focus on doing what matters to you: working from anywhere.
Step 1: Understand your visa options
Before applying, research which visa type suits your situation. Standard visa options for remote workers include:
- Tourist Visa: Ideal for short stays (30–90 days), but usually does not allow formal work, so check the country’s rules before relying on this option.
- Digital Nomad Visa: Countries now offer visas specifically for remote workers (e.g., Portugal, Estonia, Barbados, Dubai). These allow you to work legally while staying for extended periods (often 6–12 months).
- Work Visa: Some countries issue freelancer visas or permits for self-employment. These usually require proof of income and contracts.
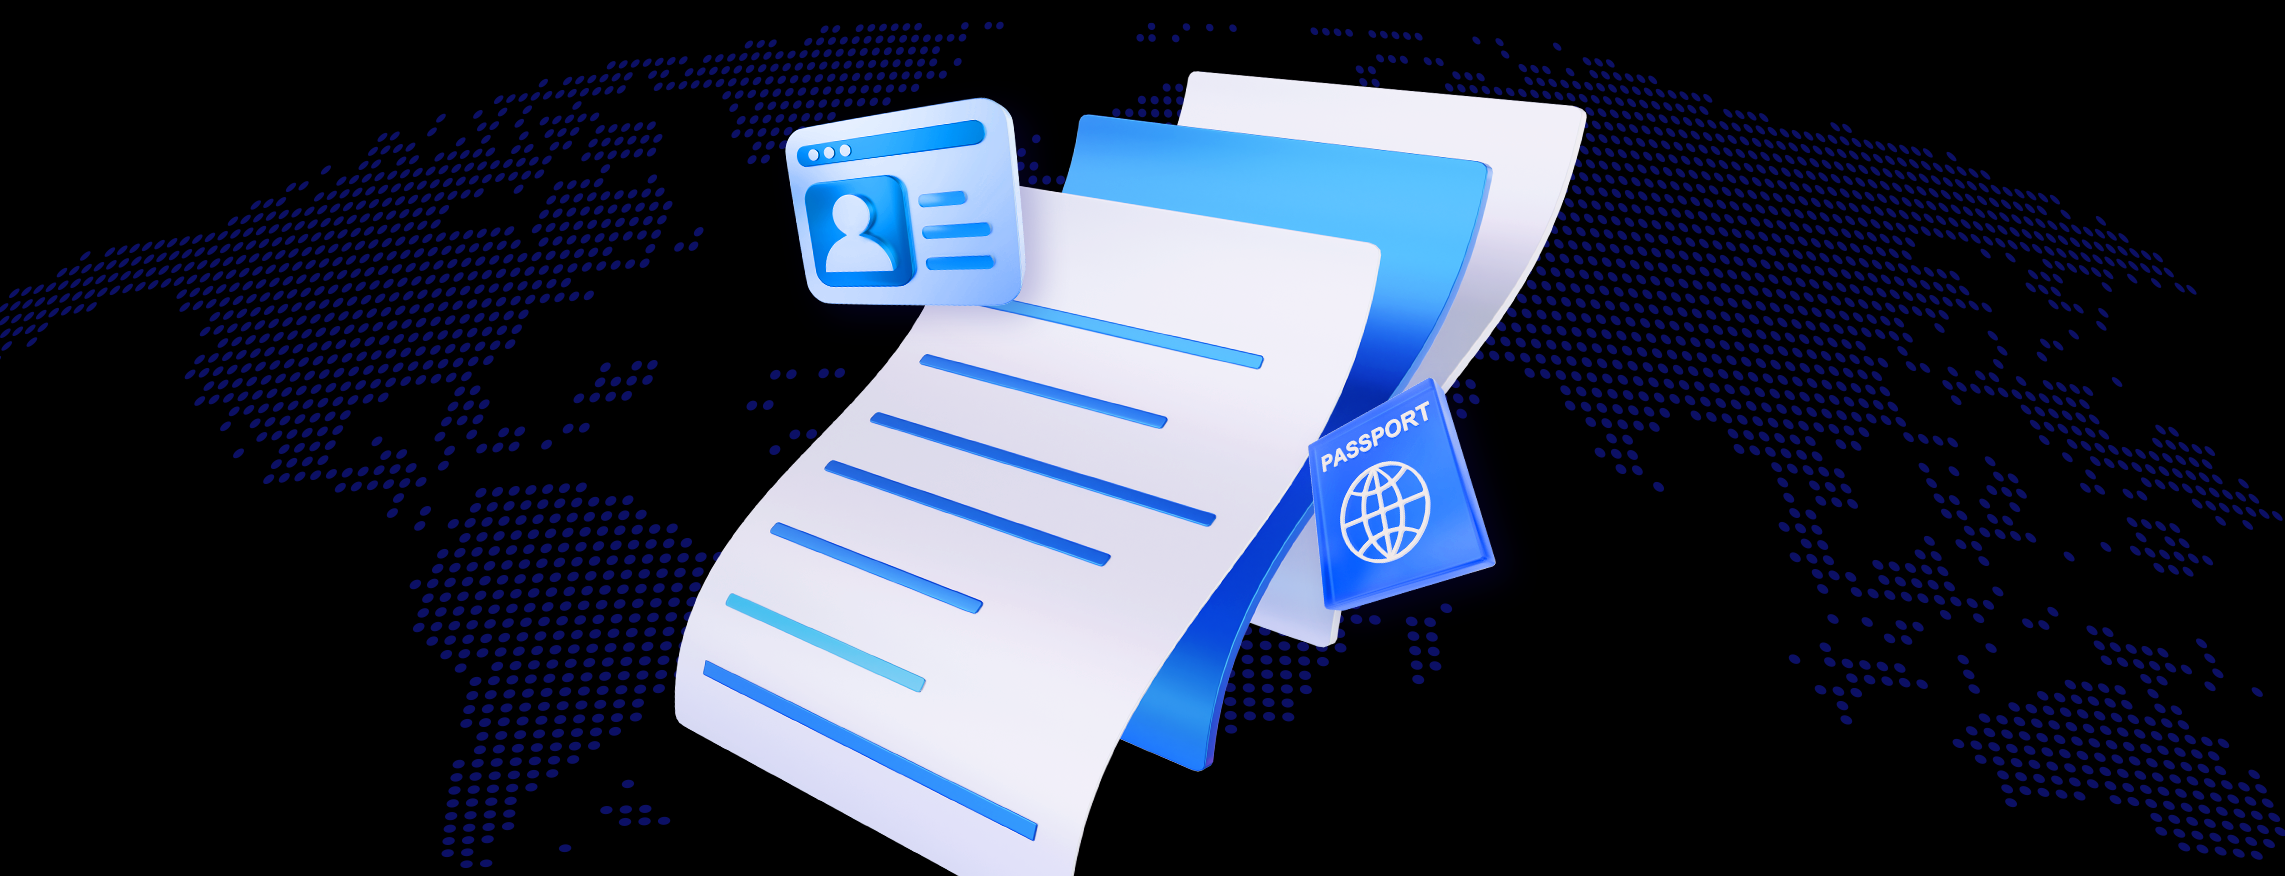
Step 2: Gather the necessary documentation
Every visa application will require different documents, but here are the most common ones remote workers should prepare:
- Valid passport – Ensure it has at least 6 months’ validity beyond your intended stay.
- Proof of income – Bank statements, pay stubs, or contracts showing you can support yourself financially. Certain savings accounts can also be attached as proof of funds when travelling.
- Travel insurance – Many countries require proof of coverage for medical emergencies.
- Accommodation details – Hotel booking confirmation, Airbnb reservation, or rental agreement. If you’ll be staying with friends or family, a letter of invitation is also required.
- Return ticket (or proof of onward travel) – Some embassies want evidence you won’t overstay.
- Visa application form – Completed accurately and signed.
- Passport photos – In the correct size and format for the country you are going to.
Create a digital folder with scans of all these documents, so you can quickly access them for multiple visa applications.
Step 3: Plan financially
Many countries have their own visa fees, and while some countries refund the fees when application requirements are not met and the visa is not approved, many others don’t. If you’re undecided on the country you want to visit, here’s how to save money during the process:
- Compare visa fees: Some countries offer more affordable visa categories that still permit remote work.
- Plan ahead: If you have made your travel plans and you’re not a spontaneous person, it's better to plan months in advance to avoid paying fast-track processing fees.
- Use a multi-currency account: Pesa’s multi-currency account allows you to hold and send money in different currencies, so you can pay visa fees in the required currency without incurring expensive bank charges.
- Track expenses: Creating an itinerary will help you keep track of all your plans and the associated financial costs. Where would you go, and what would be the cost? Utilise budgeting apps like YNAB or Mint to manage your travel expenses effectively.
.webp)
Step 4: Simplify your process
Remote workers thrive on efficiency, and that’s why you need to take advantage of all the tech at your disposal to make the process simple and easy for you.
- Nomad visa websites: Platforms like VisaGuide.world or NomadList.com help you compare visa options across countries.
- Documentation tools: Utilise Google Drive or Dropbox to securely store and share documents.
- Currency conversion and money transfer apps: Use Pesa, Wise, or Revolut to convert currency at competitive rates when paying for fees or deposits.
- Travel insurance: Sites like SafetyWing or VisitorsCoverage let you find affordable coverage in minutes.
Step 5: Double-check entry requirements
Many countries now require additional health or security documents, such as:
- COVID-19 Vaccination Proof
- Medical Certificates
- Criminal record check (sometimes required for long-term visas)
Most importantly, check the official embassy website of your destination country for the most updated list before submitting your application.
Step 6: Submit and track your application
Once you’ve submitted your application:
- Keep digital and paper copies of your submission.
- Use the embassy’s online tracker if available.
- Allow enough processing time (some visas take weeks or months).
Apply for your visa at least 1–3 months in advance of travel to avoid last-minute stress.
Getting a visa as a remote worker doesn’t have to be complicated; it just requires careful planning and the right tools. By preparing your documents early, budgeting for costs, and utilising tools like Pesa to manage currency and payments, you can streamline the process, reduce expenses, and minimise stress.
Once your visa is approved, you can focus on what really matters: building your dream remote work lifestyle, exploring new places, and staying productive from anywhere in the world.
Related articles
See all


Think money
Think Pesa
From home to abroad, and everywhere in between. We’ll help you send, receive, and convert your money with ease.
Download the appDownload the app


Join thousands of users sending money
Scan the QR code below with your phone
and you’ll get a link to get started

